Docker 多架构镜像构建(CentOS)
Jul 9, 2020 21:45 · 1177 words · 3 minute read

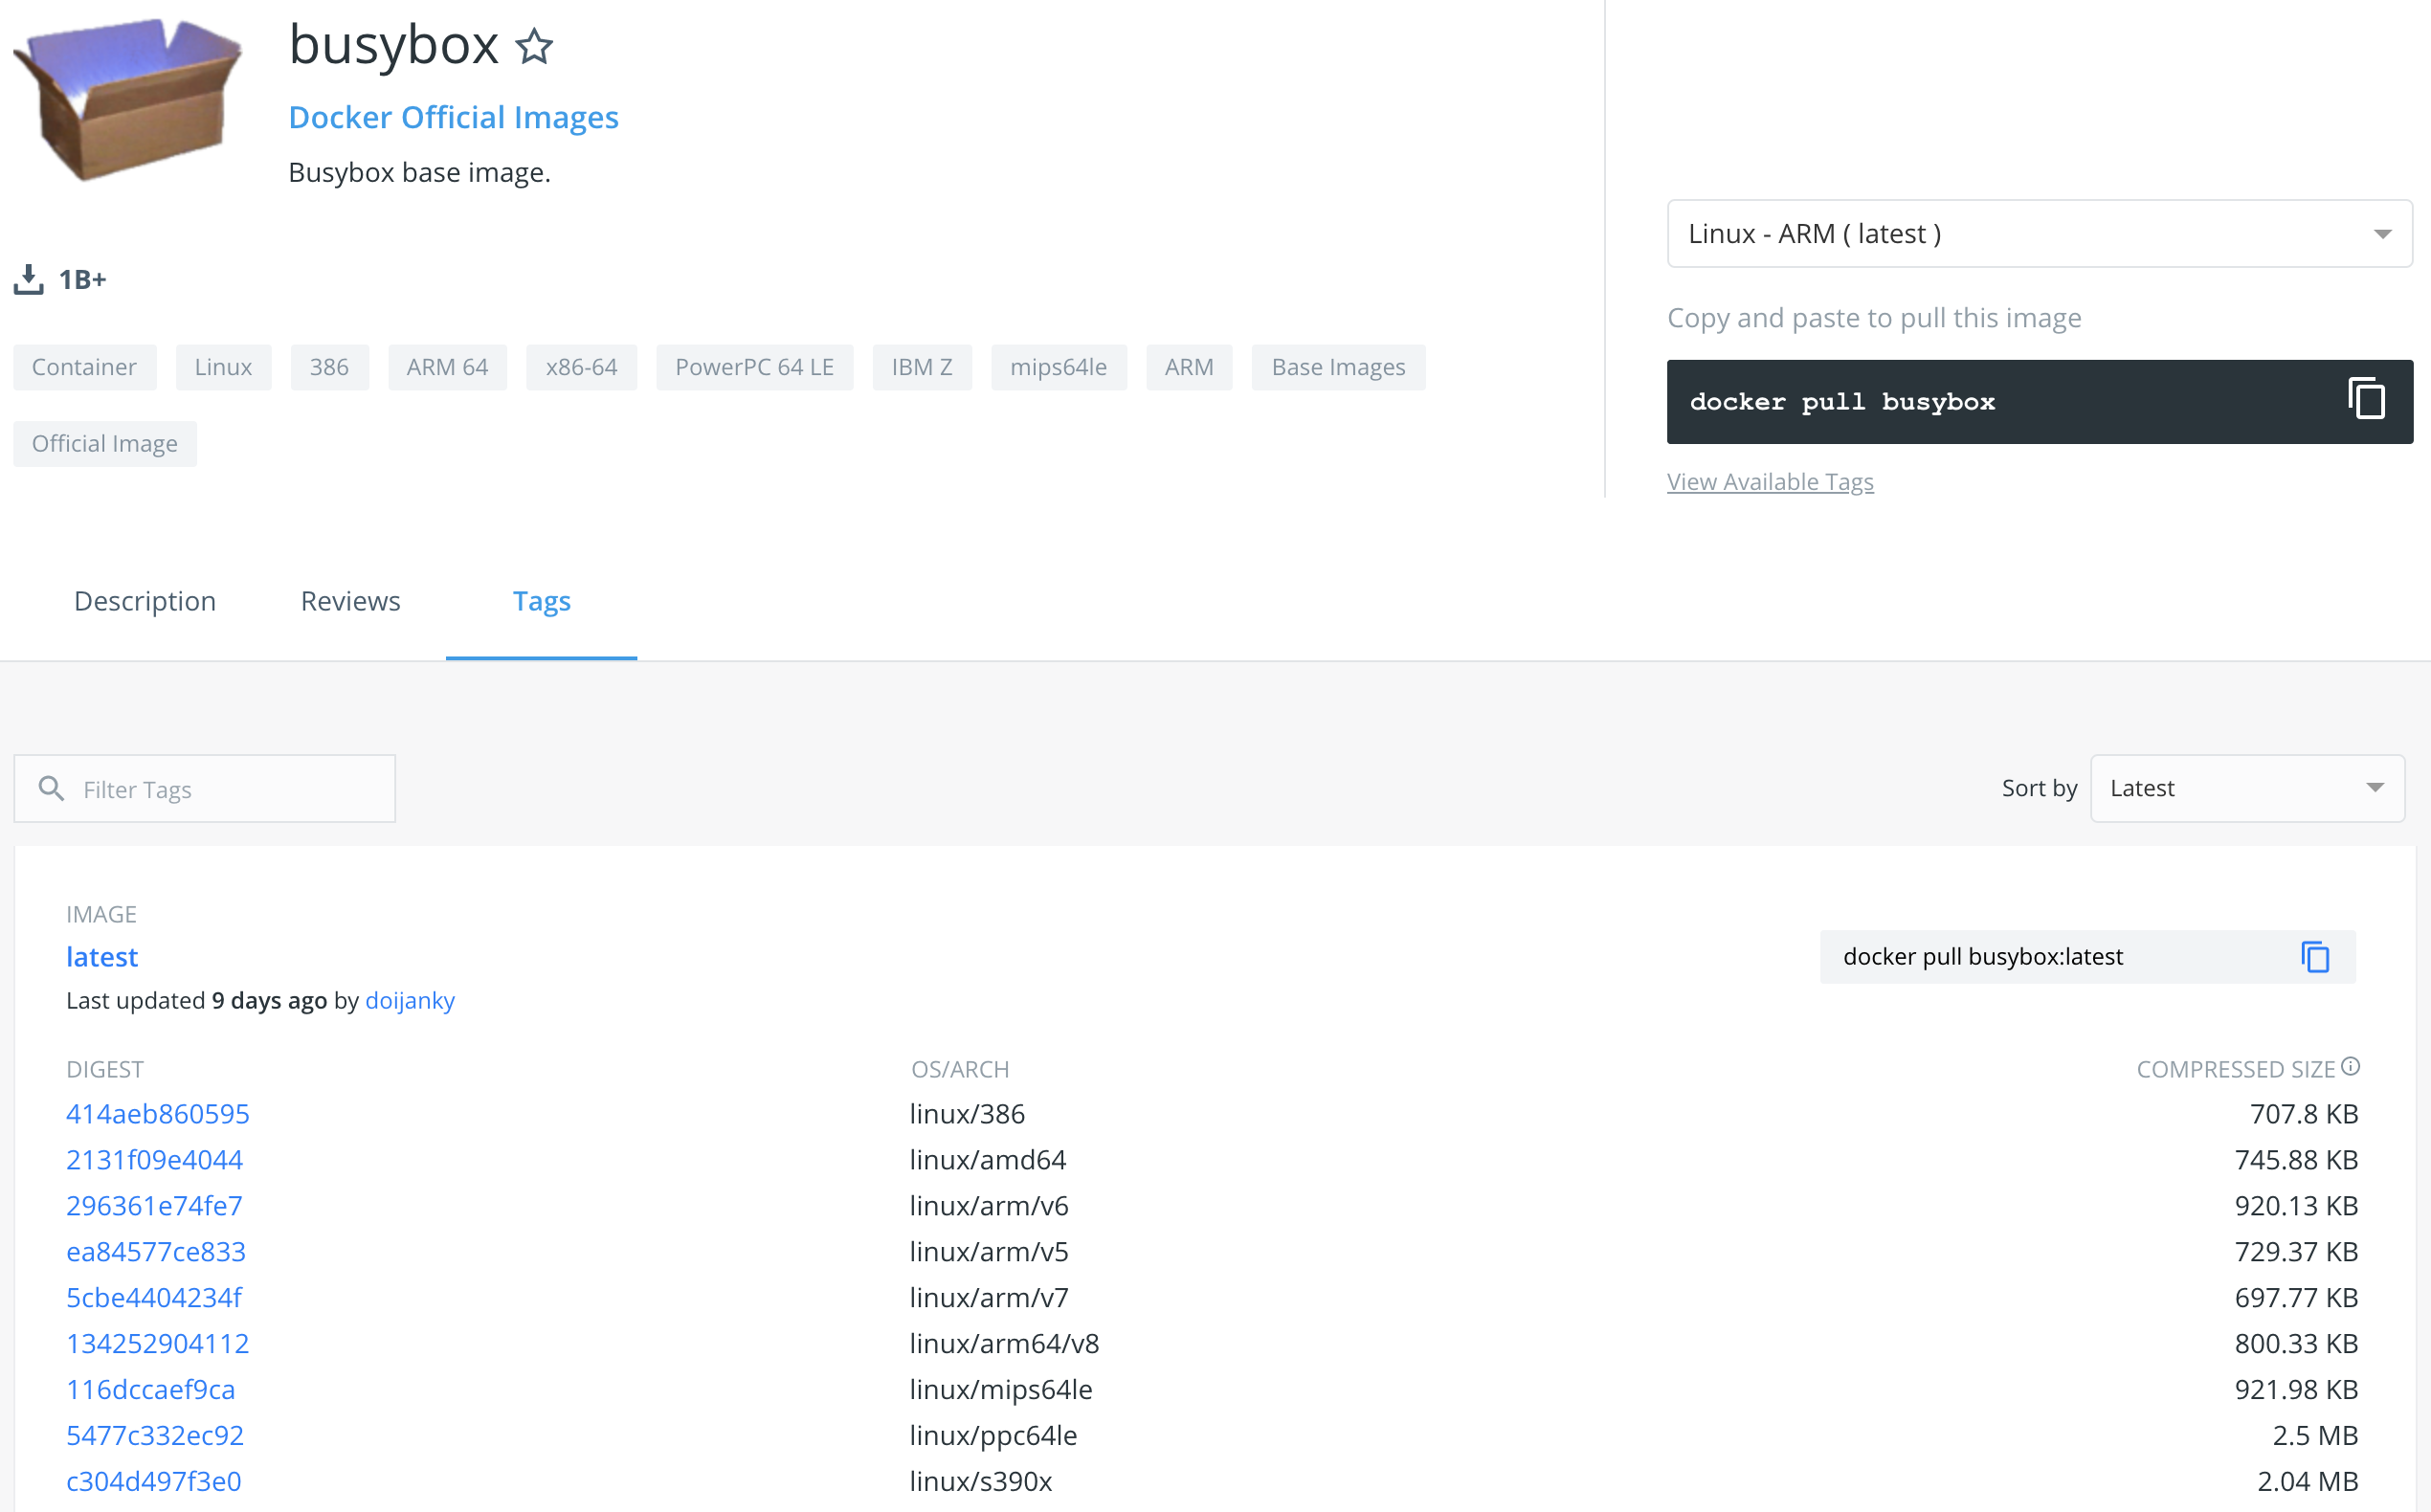
如今 Docker 容器镜像已经可以支持多种架构(平台),Docker Hub 上的镜像可能同时包含了同一应用程序不同架构的变体。当运行支持多架构的镜像时,Docker 会自动匹配操作系统与架构来切换对应的镜像变体。
Docker Hub 上有相当一部分特定架构/操作系统的官方镜像:
- ARMv6 32-bit (arm32v6) https://hub.docker.com/u/arm32v6/
- ARMv7 32-bit (arm32v7) https://hub.docker.com/u/arm32v7/
- ARMv8 64-bit (arm64v8) https://hub.docker.com/u/arm64v8/
- Linux x86-64 (amd64) https://hub.docker.com/u/amd64/
- Windows x86-64 (windows-amd64) https://hub.docker.com/u/winamd64/
- ARMv5 32-bit (arm32v5) https://hub.docker.com/u/arm32v5/
- IBM POWER8 (ppc64le) https://hub.docker.com/u/ppc64le/
- IBM z Systems (s390x) https://hub.docker.com/u/s390x/
- MIPS64 LE (mips64le) https://hub.docker.com/u/mips64le/
- x86/i686 (i386) [https://hub.docker.com/u/i386/]

在 Linux 上 QEMU 有一个可选的操作模式,能够通过用户模式仿真运行为非本地架构编译的 Linux 二进制文件。这种模式跳过了模拟完整目标硬件系统的开销,相反 QEMU 通过 binfmt_misc 向 Linux 内核注册二进制格式处理程序,并在运行时透明地解释外来的二进制文件,按需将系统调用从目标系统转换到宿主机系统。用户看上去应用程序就像“原生地”运行一样。
通过用户模式仿真呢 QEMU,我们可以通过轻量级虚拟化(chroot 或容器)安装一个 Linux 发行版,就像原生那样在目标平台上构建我们的二进制文件。
这就是支持构建多架构的 Docker 镜像的最优解。
buildx
我们需要使用 buildx 插件来扩展 Docker 的构建能力。
如果你的 Docker 运行时是最新的版本 19.03,那么 buildx 已经默认与 Docker 集成,但是需要通过设置 DOCKER_CLI_EXPERIMENTAL 环境变量来开启:
$ export DOCKER_CLI_EXPERIMENTAL=enabled
$ docker buildx version
github.com/docker/buildx v0.3.1-tp-docker 6db68d029599c6710a32aa7adcba8e5a344795a7
否则就要下载源码自行编译安装:
$ git clone git://github.com/docker/buildx && cd buildx
$ make install
$ docker buildx version
github.com/docker/buildx v0.4.1-13-gf3111bc f3111bcbef8ce7e3933711358419fa18294b3daf
升级 Linux 内核
将 Linux 内核升级至最新:
-
更新所有软件包
$ yum -y update -
检查内核版本
$ uname -r -
添加 ELRepo
$ rpm --import https://www.elrepo.org/RPM-GPG-KEY-elrepo.org $ rpm -Uvh https://www.elrepo.org/elrepo-release-7.0-3.el7.elrepo.noarch.rpm $ yum repolist -
安装新的内核
$ yum --enablerepo=elrepo-kernel install kernel-ml $ yum repolist all -
配置 Grub2
配置系统启动时的默认内核版本
$ sudo awk -F\' '$1=="menuentry " {print i++ " : " $2}' /etc/grub2.cfg $ sudo grub2-set-default 0 $ sudo grub2-mkconfig -o /boot/grub2/grub.cfg -
重启
$ reboot
$ uname -r
5.7.6-1.el7.elrepo.x86_64
开启 binfmt_misc
$ yum install qemu-user -y
$ docker run --rm -t arm64v8/centos uname -m
standard_init_linux.go:211: exec user process caused "exec format error"
$ docker run --rm --privileged multiarch/qemu-user-static --reset -p yes
Setting /usr/bin/qemu-alpha-static as binfmt interpreter for alpha
Setting /usr/bin/qemu-arm-static as binfmt interpreter for arm
Setting /usr/bin/qemu-armeb-static as binfmt interpreter for armeb
Setting /usr/bin/qemu-sparc-static as binfmt interpreter for sparc
Setting /usr/bin/qemu-sparc32plus-static as binfmt interpreter for sparc32plus
Setting /usr/bin/qemu-sparc64-static as binfmt interpreter for sparc64
Setting /usr/bin/qemu-ppc-static as binfmt interpreter for ppc
Setting /usr/bin/qemu-ppc64-static as binfmt interpreter for ppc64
Setting /usr/bin/qemu-ppc64le-static as binfmt interpreter for ppc64le
Setting /usr/bin/qemu-m68k-static as binfmt interpreter for m68k
Setting /usr/bin/qemu-mips-static as binfmt interpreter for mips
Setting /usr/bin/qemu-mipsel-static as binfmt interpreter for mipsel
Setting /usr/bin/qemu-mipsn32-static as binfmt interpreter for mipsn32
Setting /usr/bin/qemu-mipsn32el-static as binfmt interpreter for mipsn32el
Setting /usr/bin/qemu-mips64-static as binfmt interpreter for mips64
Setting /usr/bin/qemu-mips64el-static as binfmt interpreter for mips64el
Setting /usr/bin/qemu-sh4-static as binfmt interpreter for sh4
Setting /usr/bin/qemu-sh4eb-static as binfmt interpreter for sh4eb
Setting /usr/bin/qemu-s390x-static as binfmt interpreter for s390x
Setting /usr/bin/qemu-aarch64-static as binfmt interpreter for aarch64
Setting /usr/bin/qemu-aarch64_be-static as binfmt interpreter for aarch64_be
Setting /usr/bin/qemu-hppa-static as binfmt interpreter for hppa
Setting /usr/bin/qemu-riscv32-static as binfmt interpreter for riscv32
Setting /usr/bin/qemu-riscv64-static as binfmt interpreter for riscv64
Setting /usr/bin/qemu-xtensa-static as binfmt interpreter for xtensa
Setting /usr/bin/qemu-xtensaeb-static as binfmt interpreter for xtensaeb
Setting /usr/bin/qemu-microblaze-static as binfmt interpreter for microblaze
Setting /usr/bin/qemu-microblazeel-static as binfmt interpreter for microblazeel
Setting /usr/bin/qemu-or1k-static as binfmt interpreter for or1k
$ cat /proc/sys/fs/binfmt_misc/qemu-aarch64
enabled
interpreter /usr/bin/qemu-aarch64-static
flags:
offset 0
magic 7f454c460201010000000000000000000200b700
mask ffffffffffffff00fffffffffffffffffeffffff
$ docker run --rm -t arm64v8/centos uname -m
aarch64
切换至多架构构建器
Docker 默认的构建器是不支持多架构。
-
创建一个新的支持多架构的构建器
$ docker buildx create --name mybuilder mybuilder -
切换至新的构建器
$ docker buildx use mybuilder -
确认已选中新的构建器
docker buildx inspect --bootstrap
[+] Building 11.0s (1/1) FINISHED
=> [internal] booting buildkit                                                                                                                                                                                        11.0s
=> => pulling image moby/buildkit:buildx-stable-1                                                                                                                                                                     10.4s
=> => creating container buildx_buildkit_mybuilder0                                                                                                                                                                    0.6s
Name:   mybuilder
Driver: docker-container

Nodes:
Name:      mybuilder0
Endpoint:  unix:///var/run/docker.sock
Status:    running
Platforms: linux/amd64, linux/arm64, linux/riscv64, linux/ppc64le, linux/s390x, linux/386, linux/arm/v7, linux/arm/v6
构建镜像
-
写个回显宿主机 CPU 架构的 Go 程序:
$ mkdir test && cd test $ cat <<EOF > hello.go package main import ( "fmt" "runtime" ) func main() { fmt.Printf("Hello, %s!\n", runtime.GOARCH) } EOF -
Dockerfile 你懂的:
$ cat <<EOF > Dockerfile FROM golang:alpine AS builder RUN mkdir /app ADD . /app/ WORKDIR /app RUN go build -o hello . FROM alpine RUN mkdir /app WORKDIR /app COPY --from=builder /app/hello . CMD ["./hello"] EOF -
buildx 构建
$ docker buildx build -t crazytaxii/hello-arch --platform=linux/arm64,linux/amd64 --push .--platform参数将通知 buildx 构建 amd64 和 aarch64 架构的镜像--push生成一份多架构的 manifest 并直接将所有镜像推送至 Docker Hub
未来 buildx 很有可能成为一个标准 docker 命令,我们终将习以为常,交叉编译的时代可能已经过去了。